How Do You Install Google Chrome on a Windows VPS?
Installing Google Chrome on your Windows VPS is a straightforward process. Follow these steps to get started. Here’s how to install Google Chrome on your Windows VPS:
Connect to your Windows VPS
- If you need help with the connection, check our guide: How to Connect to a Windows VPS.
Open your web browser
- Once connected, open the default browser (Microsoft Edge).
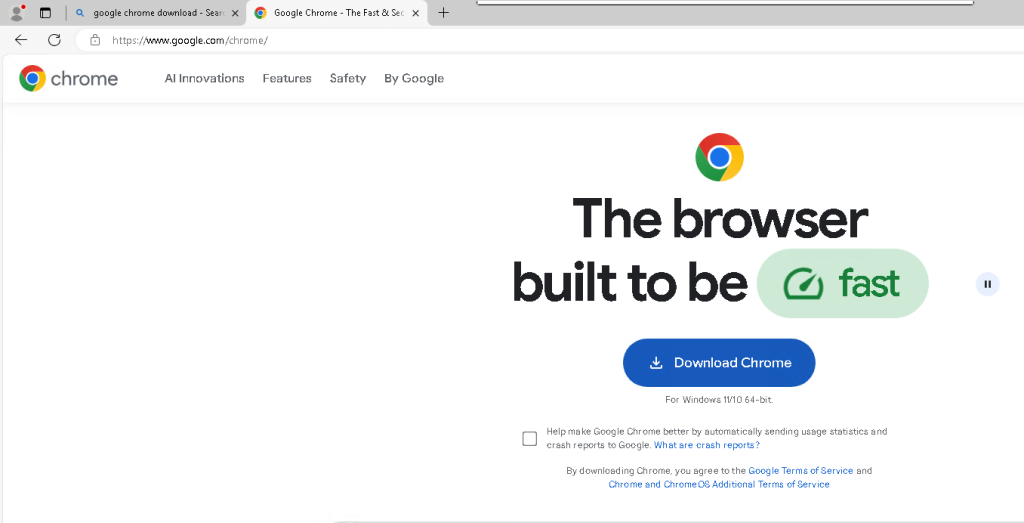
Download Google Chrome
- Visit the official Google Chrome download page: https://www.google.com/chrome/ and download Google Chrome file on your Windows VPS.
Install Google Chrome on your Remote Dekstop
- After the download finishes, open the file. Follow the steps on the screen — it usually just means clicking “Next” a few times.
Launch Google Chrome
- Once installed, Chrome will open automatically. If it doesn’t, you can start it from the Start menu or the desktop shortcut.
To set Chrome as your default browser, click “Set as default” when it prompts during the first launch, or go to Settings > Default apps in Windows settings.
Now Chrome is ready to use on your Windows VPS!